Using this new feature within Gloo‘s GSAP Scrolltrigger, we can now map video playback to user scrolling. This means that with some imagination and clever usage of a chosen video, you can now create a section containing a self hosted video which will play only as long as the user is scrolling through the page.
Using the other GSAP Scrolltrigger features, this means, moreover, that on any given page we can have any element animate on user scrolling on a video background which is played by the scrolling too. This includes 3D models thanks to the 3D Model Widget!
Note: GSAP Video Scrolling is part of the GSAP Scrolltrigger feature, and as such to use it we will need to toggle on both GSAP Scrolltrigger and Interactor in the Gloo settings dashboard.
It’s important to note that in order to have our video animate and scroll correctly across all browsers, we will need our video to be encoded with a specific codec. This is especially important with Chrome and some other Chromium-based browsers, as for example Safari will have full compatibility with other codecs as well. This is not a GSAP or Gloo limitation, as much as it is a browser limitation, but we can work around it using FFmpeg: a popular framework to, among other things, encode videos to the exact format we will need.
We have prepared a FFmpeg Installation and video conversion guide for you.
Having followed the guide to convert the video to work with GSAP on all browsers, let’s ready up the page for our GSAP work. Let’s add a Video widget to a container. This can be a new container, or it can be a container we already have other elements that we intend to animate with GSAP. What matters is that the container needs to have an unique CSS ID, and have its view height be enough to scroll through the video at the desired speed. This is because the container’s view height will determine how much scrolling needs to be done to actually carry out the animation. The more view height, the more scrolling we’ll need to do. Let’s also set it to be Sticky to the Top in the Motion Effects menu in the Advanced tab, along with toggling on Stay In Column.
Let’s upload our converted video to the widget by choosing the Self Hosted source and make sure that we aren’t showing Player Controls and that Metadata is selected in the Preload menu.
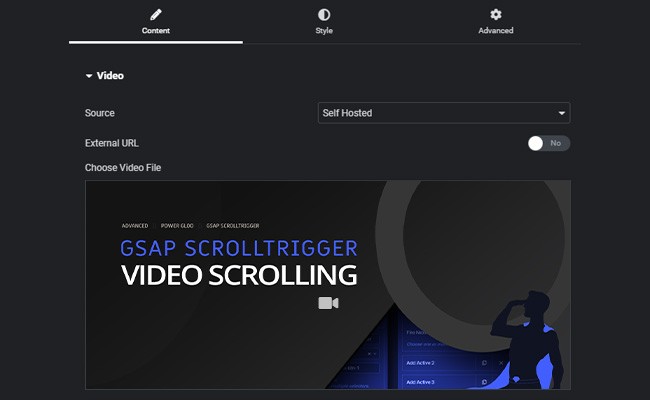
We will need to give a CSS ID to the video widget as well.
Remember: GSAP Video Scrolling will only work with Elementor Self Hosted videos
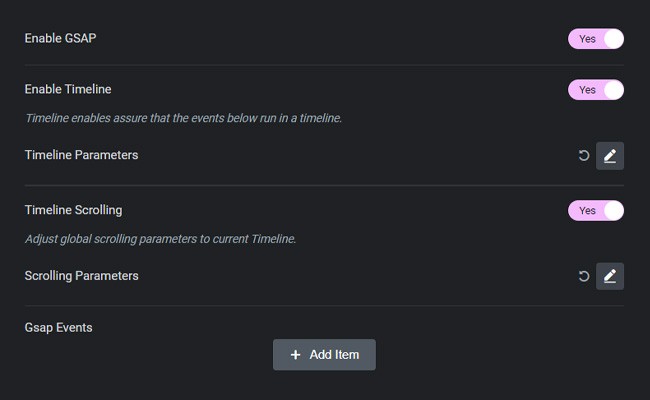
With that done, all that’s left to do is setting up the GSAP Event proper. Find and enable GSAP along with Interactor in the Advanced tab of the Elementor editor Page Settings under the Interactor menu. Toggle Enable Timeline and Timeline Scrolling on as well. We don’t need to touch any parameters inside these two options for any of this to work.
Let’s add a new item in the GSAP Event section of the menu. In the dropdown menu just after the title, we will need to select Elementor Video.
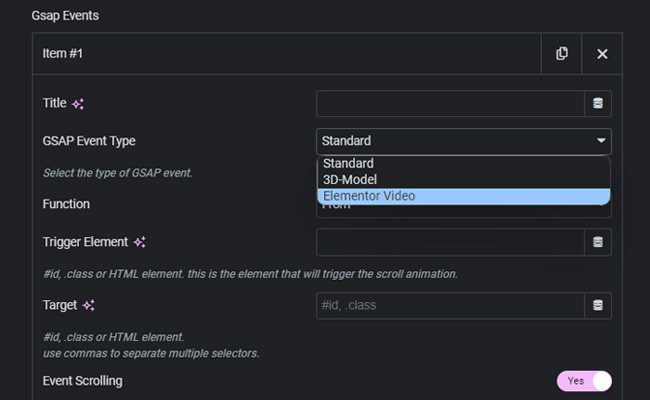
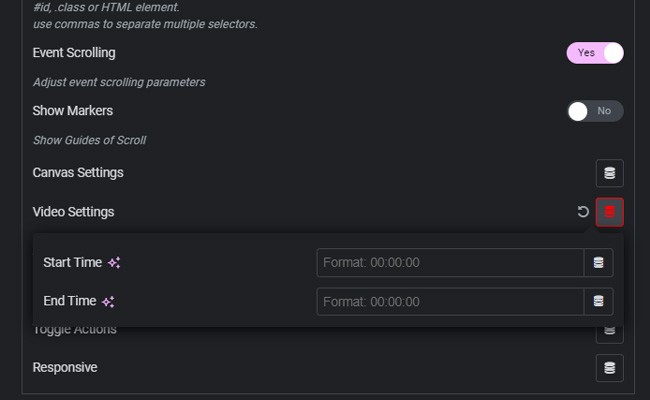
Let’s make sure to paste the CSS ID of the video in the Target field. We can then setup the rest of the event just as we’d do normally, as seen in the GSAP Scrolltrigger page and Tutorial. The only new option will be the Video Settings, where we’ll be able to crop the video to the desired start and end timestamps.
With this done, by updating the page we will see that the video inside the section will play only when the user is scrolling through the page. It’s important to remember, again, that the view height of the container will determine the amount of scrolling to be done to play the full video, and that the Canvas Settings inside the Event options will determine, in simple terms, how much of that scrolling space will be used to play the entire video.

Looking for a lifetime deal?