Interactor is a one of a kind Engine to generate custom jQuery Triggers and Events. What this means, in practice, is that we can use the Elementor UI to build complex interactions between a set of Triggers and a choice of Events, and target any HTML element, class or ID within the page we’re working on. Once the Trigger is triggered by user action or any number of other custom conditions we can set, the corresponding Event will fire on the Target and carry out the Interactor Integration.
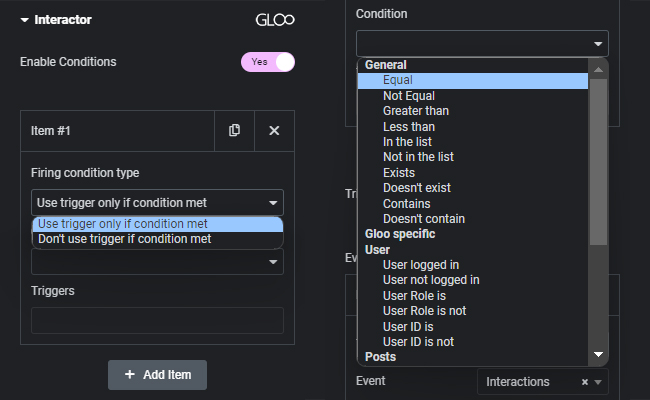
Interactor also features a PHP Condition section which lets us determine if the Triggers will be used or not if certain conditions are met. We can use one or multiple Conditions thanks to the built-in repeater, and we can assign any number of Triggers to each Condition.
Moreover, Interactor lets us define Variables with any kind of Dynamic Name and Values. We can then pass these Variables through Connectors to any number of external resources for use in Data Management, Automation, Tracking, and anything else we may ever need.
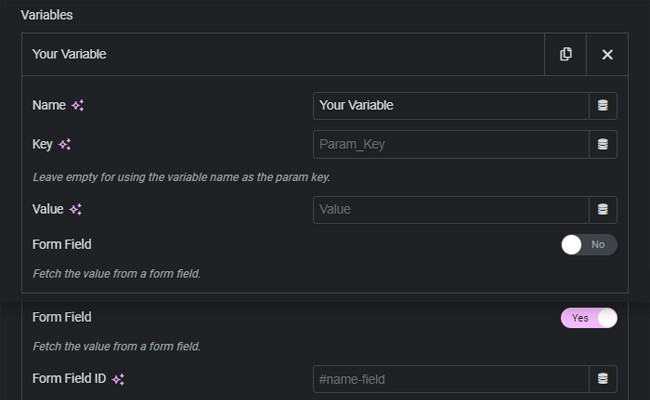
Variables can be named with the Name field (this is just for ease of remembering and labeling, as it won’t feature in the actual code that’s being passed through connectors)
The Key field represents the actual name of the variable in the code. This is the key that will be passed as the name of the variable in the code.
The Value is, as the name says, the actual value that will be passed along the Key to define the variable value. This can be a manual input, a dynamic tag, or can even be fetched from the contents of a form field. If we’re looking to do the latter, just toggle on Form Field and paste the Form Field ID in the field that gets unlocked by toggling on the feature.
More information on how to find Elementor Form Field IDs can be found in the Fetching Form Field Values with Interactor tutorial.
Interactor features Connectors such as:
Interactor has been designed to be extremely modular. In light of this, it allows for solutions that can save literally hours of work, and even allow for solutions that were outright impossible to achieve in both Elementor and Wordpress alone.
Interactor blows open the roof from any Elementor page, allowing to completely bend the Page Builder to one’s desires. Yes, it’s that powerful.
Interactor Triggers are actions that activate the firing of any number of Interactor Events. These can range from simple User-dependend actions such as Click or Double Click, to more complex actions such as triggering once an element has been inserted in the DOM. Triggers can also activate as soon as the page has fully loaded. These conditions are referred to as Firing Events in the Trigger settings.
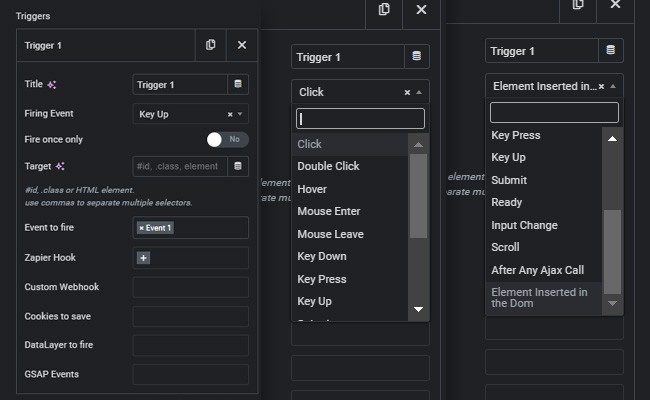
We can target any HTML element, class or ID with our Triggers so that the trigger will fire as soon as the Firing Event is detected on the specified Target. Furthermore, we can decide if the Trigger will only fire once or if it will fire as many times as the Firing Event is activated.
Triggers can be used to fire normal Events, Webhook events through the Connectors, or even GSAP Events as defined in the GSAP ScrollTrigger settings. Refer to the GSAP ScrollTrigger module page to learn what GSAP Events are.
Events are what get launched by the Firing Event defined inside an Interactor Trigger. We can add as many of these as we need through the built-in Repeater, and they can each be fired by any number of triggers. Events can be:
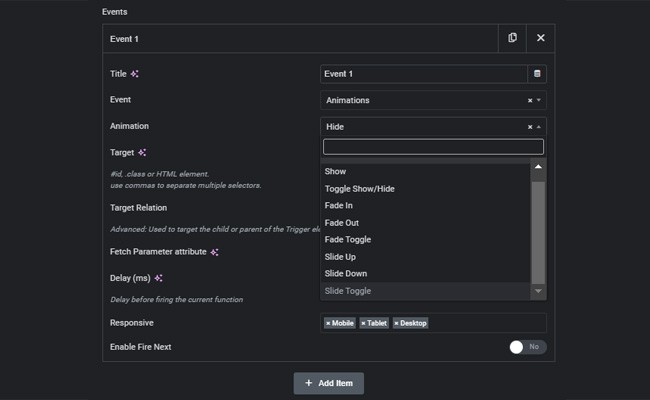
Animations range from simple Hide and Show to Fades, Slide In and Out and Slide Toggle. This will apply the selected animation to the target element as specified in the Target field in the Event settings.
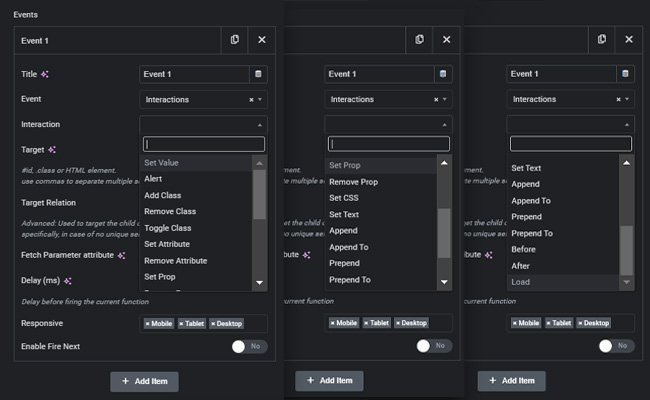
Interactions range from simple browser Alerts to Set and Remove Attribute, Set CSS, Set Value, Set Class, and any number of Interactions that let us change the properties of the target element as specified in the Target field in the Event settings.
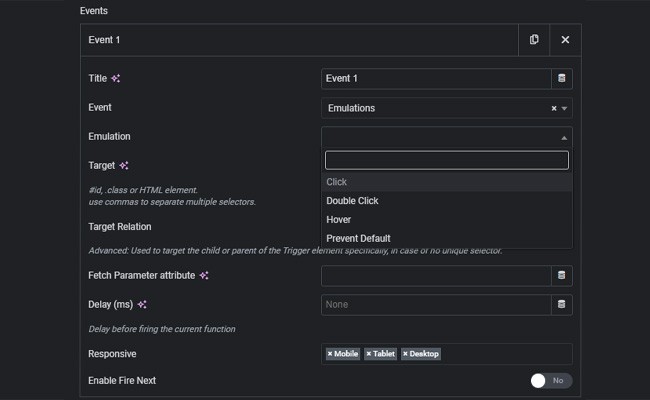
Emulations available are: Click, Double Click, Hover, and Prevent Default. These represent User actions that can happen on the page. So for example we can force Hover styling effects on a target element by using any defined Trigger instead of requiring the user to hover on the element by themselves. Prevent Default will, as the name suggests, prevent the default function of the targeted element.
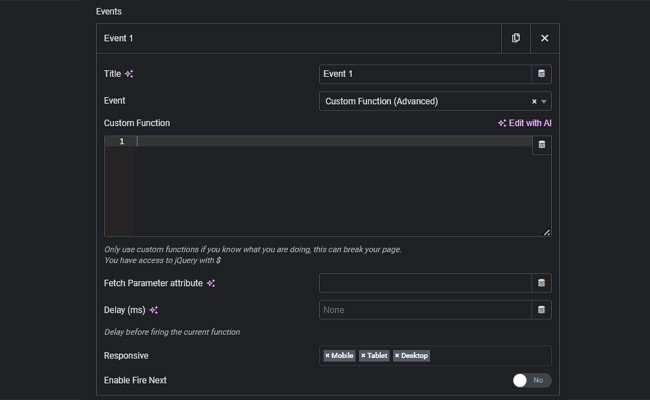
By selecting Custom Functions we will have access to a field where we can define our own functions to fire once triggered, using JavaScript and jQuery.
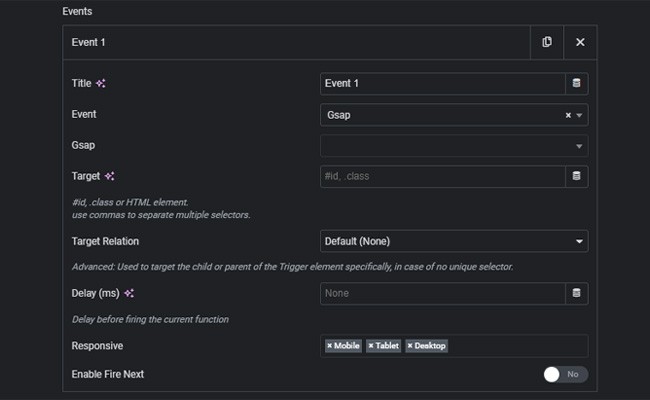
GSAP inside Interactor events allows us to Pin, Unpin and toggle the pinning (akin to setting the target’s position to Fixed) elements that we may already be animating using GSAP ScrollTrigger or the 3D Model Widget. Comes in handy when working with GSAP.
The Target field is where we will paste the HTML element, class or ID that we want the selected Event to apply to. In case we aren’t working with an unique selector, we can further define if the Event Target is a Child or Parent of the Trigger Element, that we’ve already defined in the Target field of the Trigger settings.
Depending on our choice of Event Type, we may be faced with additional Option Fields to fetch the Parameter and the Parameter Attribute we may want to change with the firing of the Event. This is most relevant in Interaction-type Events where we’re trying to change a Class, change some Text, or change Attributes, for example. By toggling Fetch Form Field, we can fetch that information directly from any form field. In that case, we will have to write the Form Field ID in the Fetch Parameter options field.
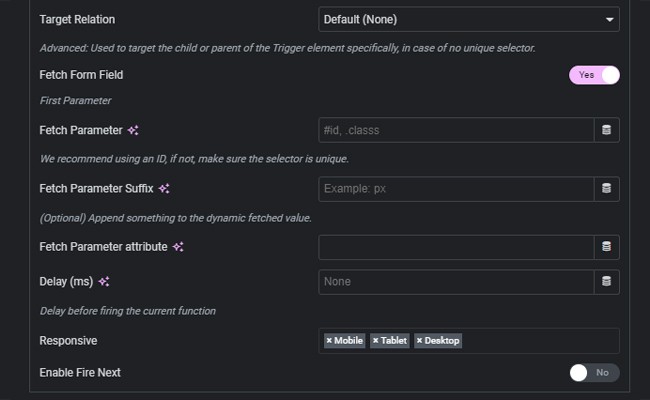
The way Elementor handles Form Field IDs is by prepending form-field- to the ID we write in the ID field in the Advanced Tab of the Form Field. So for example, if we write “name” in the ID field in the Elementor Editor, the actual ID we will need to target is “form-field-name“. We can make sure by using the inspection tool on the frontend as shown in the Interactor & the Inspection Tool tutorial.
Fetching Form Field Values will allow our Events to change the DOM according to User input in the Form Field the Value is being fetched from. An example would be changing the size of the text in a heading widget that we targeted by using a Range Field as a size slider.
WIth the Event configured, We can set a Delay between the triggering of the Firing Event and the actual firing of the Event, by inserting a millisecond value in the Delay field.
This is particularly important when using the Fire Next toggle, which will let us select any number of other Events to be fired after the first Event has fired. We can use Fire Next to chain any number of Events independently from the Trigger.
Furthermore, we can even go as far as to select which device the Event will fire on using the Responsive field, if we want it to fire only on specific devices.
Variables, as previously defined, consists of a Data Value and a Name that is used to identify the Data Value, like in any Name-Value pair. We can name the Variable to anything and have its Value be any kind of Value that we can fetch with a Dynamic Tag.
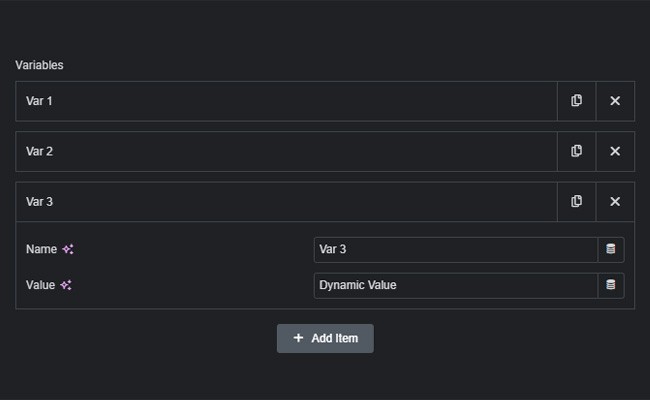
We can create as many Variables as we’d like by using the built-in Repeater in the Variables section. We will then be able to feed each Variable through the Interactor Connectors.
Once the Variables have been set, we can create any number of Webhook Items through each Interactor Connector. Each Connector has a Variables field where we can select any number of Variables which will then be passed through the Webhook Url according to the Method specified in the Connector settings.
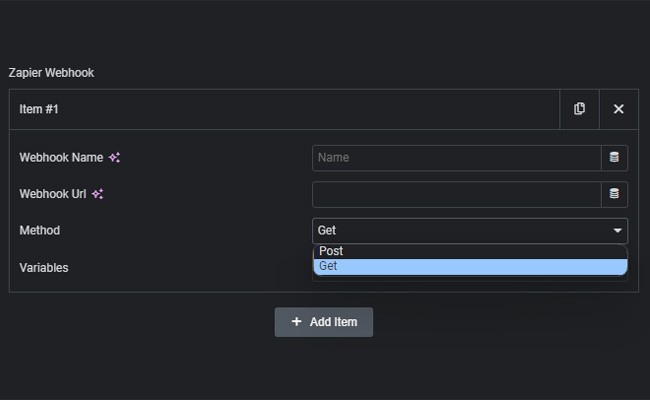
This will let us pass Variables that may be, for example, required for a Zap directly though Zapier.
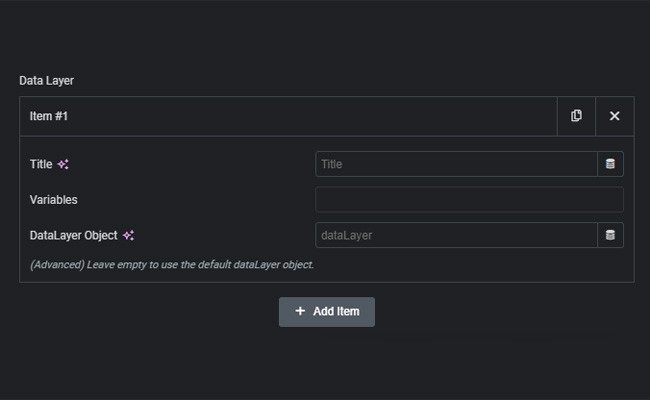
This will let us push Variables to the selected Google Tag Manager DataLayer object.
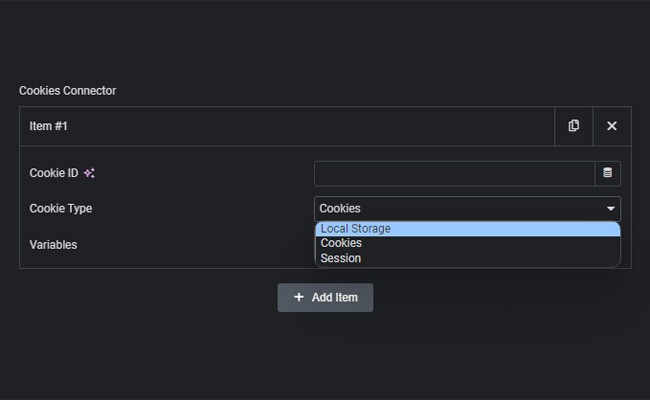
This will let us store the Variables into different types of Cookies. Refer to the Cookies Connector module page for more information.
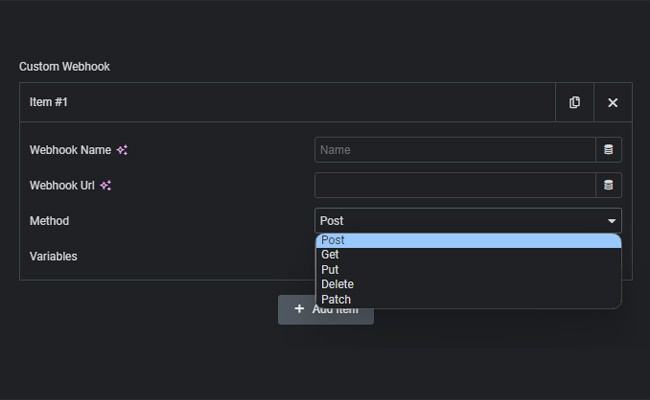
The Custom Webhook Connector will work with any other Webhook that doesn’t fit specifically with the other Connectors. Connect anything.
With the Connector Items configured, We can go back to our Triggers and select which Item to fire for each Connector. Each Item, once fired, will pass the specified Variables to the connected Webhook, Cookie, or DataLayer Object.
We recognize Interactor has a learning curve to it. But once mastered, it becomes extremely addictive. So addictive in fact that we may start to use a very large amount of Triggers, Events and Variables on any page of our website. When working with many of these elements, the Elementor Editor might get slow.
By toggling on Disable Auto Updates we can avoid any performance impact. However, every time we add a new item we will have to Update and refresh the page to be able to select it in other menus. For example, if we create a new Event, before we are able to select it to be fired by a Trigger, we will need to refresh.
We invite you to watch the Glooniversity Interactor Tutorials by following these links:
Moreover, ask any question in the Gloo Facebook Community and our team will be extremely happy to help.

Looking for a lifetime deal?